
My footsteps
Vue.js / 1 본문
- DOM 프로그래밍을 덜 쓸수 있게 해주는게 뷰js다

- 화면은 고정되어있고 비동기로 데이터를 전달하는것 = 에이젝스


- 데이터 요청 > 요청 API > 데이터 받음 > 화면 바꿔줌


- 뷰 js를 쓰면 dom 굳이 안써도됨!!!! 조타 와너무졸려

- 자스 이용하여 변환할수 이쓴 환경 필요

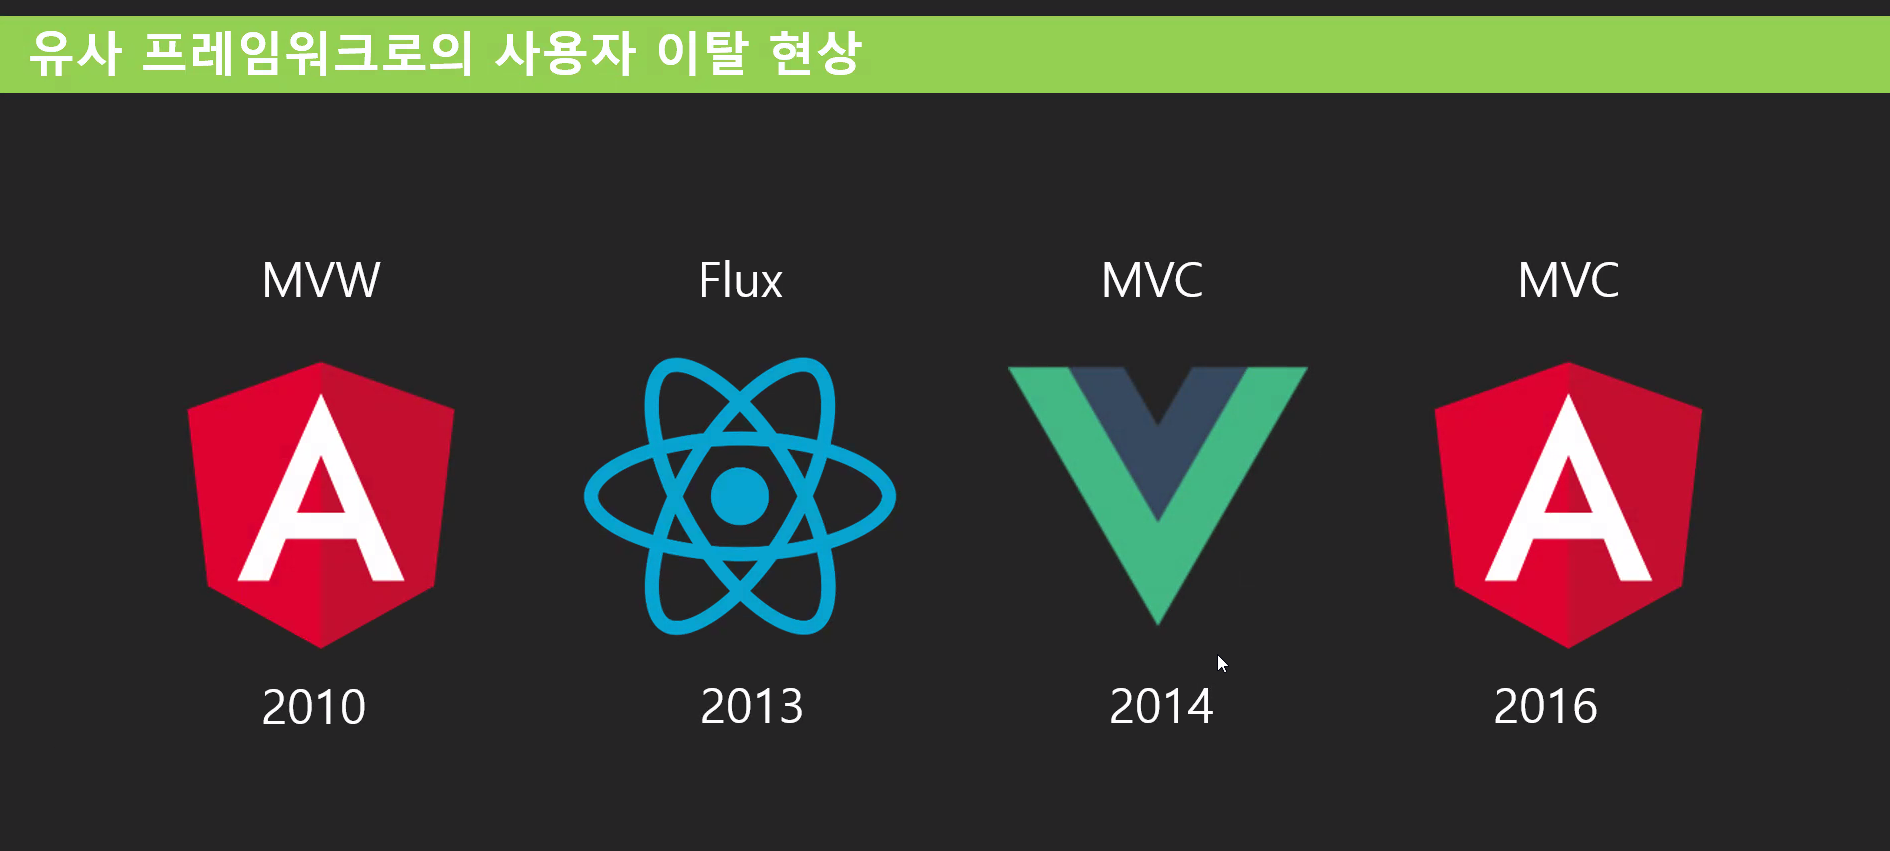


- 이렇게 비대했던 계산기 코드가 vue.js를 쓰면 간결해질것이다~~~
덧셈 계산기
window.addEventListener("load", function () {

    const inputs = document.querySelectorAll("input");
    const xInput = inputs[0];
    const yInput = inputs[1];
    const resetButton = inputs[2];
    const submitButton = inputs[3];
    const resultSpan = document.querySelector("form span:last-child");

    resetButton.onclick = (e) => {
        e.preventDefault();
        xInput.value = 0;
        yInput.value = 0;
        console.log(e);
    };

    submitButton.onclick = (e) => {
        e.preventDefault();
        let x = parseInt(xInput.value);
        let y = parseInt(yInput.value);
        let result = x + y;
        resultSpan.innerText = result;
        console.log(e);
    };

    xInput.oninput = (e) => {
        let x = parseInt(xInput.value);
        let y = parseInt(yInput.value);
        let result = x + y;
        resultSpan.innerText = result;
    };

    yInput.oninput = (e) => {
        let x = parseInt(xInput.value);
        let y = parseInt(yInput.value);
        let result = x + y;
        resultSpan.innerText = result;
    };
});
- 도큐먼트객체를 직접 쓰고싶지 않다면 mvc 패턴을 쓰면 된다
- 뷰 js 공식문서 사이트
https://vuejs.org/guide/introduction.html#api-styles
Introduction | Vue.js
vuejs.org
 <script src="https://unpkg.com/vue@3/dist/vue.global.js"></script>
 //이 링크에 붙은 글로벌은 글로벌 객체를 의미
//html
<section id="app">
//js
createApp({})
.mount("#app");
//html
 <h1>덧셈 계산기{{message}}</h1>

 //js
 const {createApp} = Vue;

// MVC -> 컨트롤러 -> 모델 -> 뷰
createApp({
    data(){
        return {
            message:"앙뇽",
            sum:28
            //이것들이 모델임
        };
    }
})
.mount("#app");
- mount라는것은 장치를 연결해서 사용할수 있게끔 하는것
<span v-text="x">{{x}}</span>
//v-text 를 쓰면 값을 인식함
- 인식하게 하고 싶은게 무엇이냐에 따라서 v-html / v-text 달라짐
 <span v-html="template"></span>
 //html

 createApp({
    data(){
        return {
            message:"앙뇽",
            x:10,
            y:20,
            template:`<a href=''>hello</a>`
            //이것들이 모델임
        };
    }
})
//js
//html
<input dir="rtl" v-bind:value="x">
<input dir="rtl" :value="x"> //근데 이렇게 쓰는게 더 편하니까 이렇게 쓰길 권장!
// 10이 나옴

//js
createApp({
    data(){
        return {
            message:"앙뇽",
            x:10,
            y:20,
            template:`<a href=''>메에에롱</a>`
            //이것들이 모델임
        };
    }
})
- data는 객체의 옵션이다 즉, 속성이라는말
    //기본행위 막을때 프리벤트 쓰지말고
    methods:{
        submmitClickHandler(e){
            //e.preventDefault();
            console.log("저녁을 뭘먹을까나?");
        }
    }

    <input type="submit" value="계산하기" v-on:click.prevent="submmitClickHandler">
    //html태그에 붙여라
  <input type="submit" value="계산하기" v-on:click.prevent.once="submmitClickHandler">
  //클릭 한번만 작동하게 하기
 <input type="submit" value="계산하기" @click.prevent="submmitClickHandler">
 //이벤트 주는거 이렇게 할수도 있다. 골뱅이 붙은애들 작동하게...
createApp({
    data(){
        return {
            message:"앙뇽",
            x:100,
            y:20,
            template:`<a href=''>메에에롱</a>`
            //이것들이 모델임
        };
    },
    methods:{
        submmitClickHandler(e){
            console.log(this.x);
        }
    }
})
//이렇게 메서드도 쓸수있꼬 this를 통해 위의 값을 출력해낼수도 있다

//html
 <input class="x-input" dir="rtl" :value="x">
- 데이터를 바인딩 할때는 양방향,단방향 두가지가 있다
- 뷰는 양방향 바인딩을 지원한다
- value에만 양방향 바인딩을 할수가 있다
- 이렇게 하면 입력값이 그대로 출력된다
    <input class="x-input" dir="rtl" v-model="x">
    <label>y:</label>
    <input dir="rtl" v-model="y">
    //v-model은 모델(데이터)을 가져오는것
 <input class="x-input" dir="rtl" v-model.number="x">
 //parseInt 할필요없이 넘겨주는쪽에 .number 해주면

 console.log(typeof this.x);
 //콘솔 찍었을때 String이 아니라 number라고 나온다(원랜 string 나왔었음)
<input class="x-input" dir="rtl"
v-model.number="x"
@input = "submmitClickHandler"
>
//이렇게 인풋 이벤트 골뱅이로 설정해주면 더하기 값이 나온다
- html을 이런식으로 완전 간결하게 만들수도 있다 (템플릿 자체가 약간 메서드같은것. 저거 쓰겠다고 하면 자동으로 html에 연결이 되는듯?)

//html
<body>

    <div id="app">
    </div>

</body>

//js
    template:
    `
    <section>
        <h1>덧셈 계산기{{message}}</h1>
        <div>
            <span v-text="x">{{x}}</span>
            <span v-html="template"></span>
        </div>
        <form>
            <fieldset>
                <legend>계산기 입력폼</legend>
                <div>
                    <label>x:</label>
                    <input class="x-input" dir="rtl"
                    v-model.number="x"
                    @input = "submmitClickHandler"
                    >
                    <label>y:</label>
                    <input dir="rtl" v-model="y">
                    <span>=</span>
                    <span v-text="x+y"></span>
                </div>
                <hr>
                <div>
                    <input type="submit" value="초기화">
                    <input type="submit" value="계산하기" @click.prevent="submmitClickHandler">
                </div>
            </fieldset>
        </form>
    </section>
    `

//컴포넌트
<script type="module" src="dom.js" defer></script>
//가져올때는 타입을 모듈로해야함

import Calc from './calc.js';

const {createApp} = Vue;

createApp(Calc) //인자로 넣어줌
.mount("#app");
// const createApp = Vue.createApp; 이렇게 쓸수도 있다
import Calc from './calc.js';

const {createApp} = Vue;

// MVC -> 컨트롤러 -> 모델 -> 뷰
createApp({
    components:{
        calc:Calc
        //컴포넌트를 만들땐 대문자로 만들지만,사용할때는 대소문자 구분 없음
        //그리고 이름 둘다 같으면 하나만 써줌 calc:calc > calc
    },
    data(){
        return {}
    },
    template:`
    <section>
        <h1>나의 새로운 Vue 앱</h1>
        <calc />
        <calc />
        <calc />
        //구분자는 대시를 써도 되고,카멜 표기법 써도 된다
    </section>
    `
})
.mount("#app");
< 복습 >
import Color from './color.js';

const {createApp} = Vue;

createApp({
    components:{
        Color
    },
    data(){
        return {
            message:"안녕하삼",
            template:`<a href=''>하이하이</a>`
        }
    },
    template:`
    <section>
        <div>
            <span></span>
            <span v-html="template"></span>
        </div>
        <h1>나의 양말..{{message}}</h1>
        <input dir="rtl"
        @input = "submmitClickHandler"
        >
        <Color />
        <Color />
        <Color />
    </section>
    `
})
.mount("#app");
export default{
data(){
return{
color:'blue'
};
},
methods:{
boxClickHandler(e){
console.log("클릭");
this.color = 'red';
}
},
template:
`
<div @click="boxClickHandler" style="width: 500px; height: 500px; background-color:'blue'" :style="{backgroundColor:color}">
</div>
`
}
'국비수업 > 수업정리' 카테고리의 다른 글
| Vue.js / 2 (0) | 2023.07.06 |
|---|---|
| Node.js (0) | 2023.07.05 |
| AOP / 프록시 / 전파옵션과 고립화 (0) | 2023.07.03 |
| 스프링 예외처리 + 유닉스 (0) | 2023.06.30 |
| RestController / 11 (0) | 2023.06.29 |